This is part two of Pete Kelbel’s case study with Liz Krimendahl – It features the work that Liz and Pete have been doing on improving Liz’s short game and putting. The first part of the case study focused on before and after videos on squaring up the clubface for long shots and it is available here.
Ratio Chipping
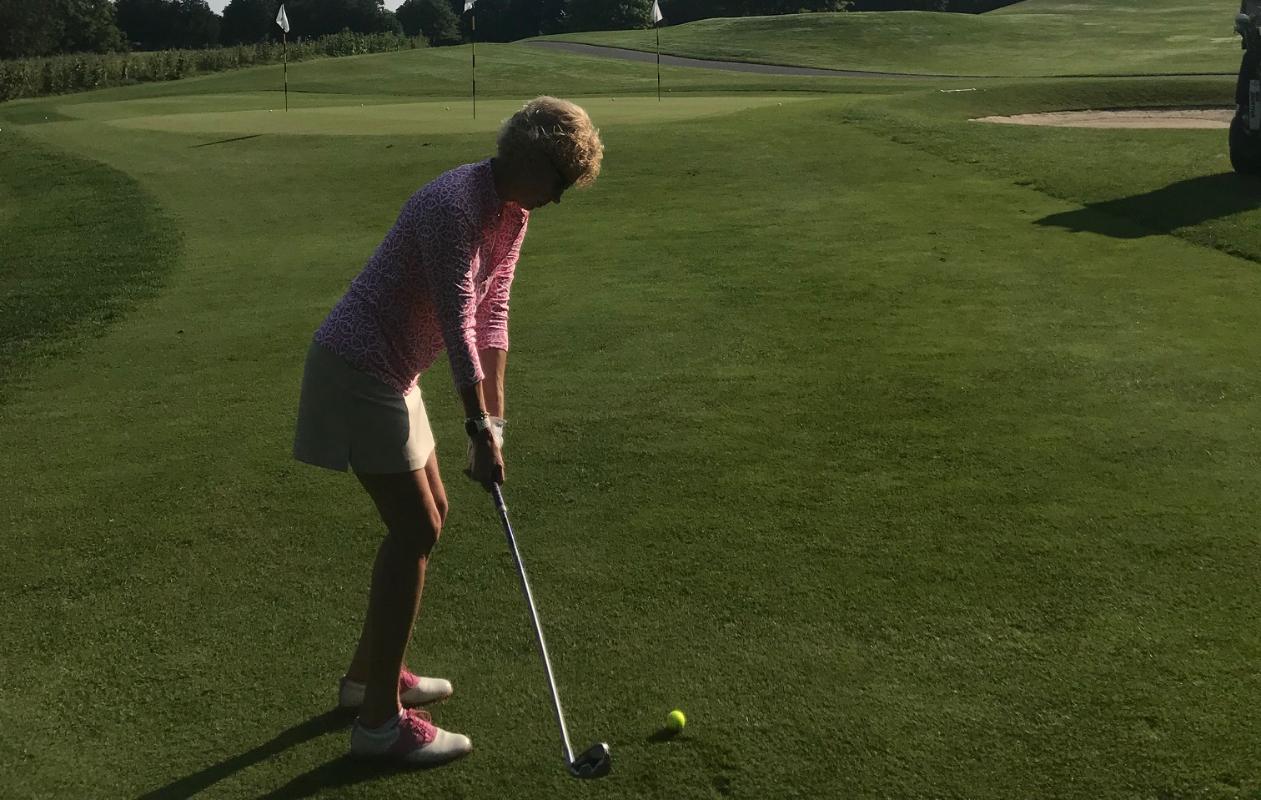
Here and in the cover photo at the top of the page, Liz is choosing to take advantage of the “mowed invitation” to land the ball in front of the green with a bump and run. This 25-yard shot requires minimal wrist break and raising of the clubface on either side!
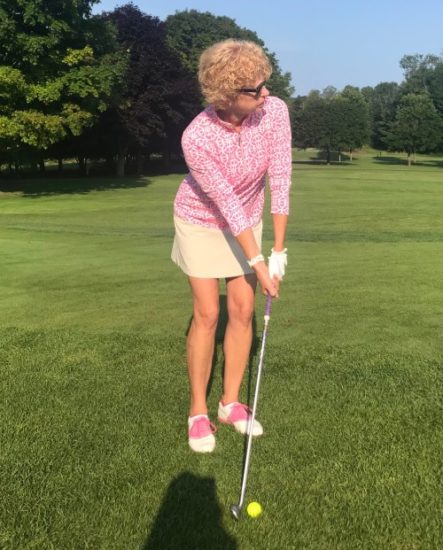
I always like to have the feet slightly left and the shoulders finding the “high ground” landing area. In this case, the high ground is to the right, away from Walloon Lake.
This is a wise, simple alternative to always hitting a high pitch onto the green when there is mowed fairway in front of the green. High pitches have wrist cock and more moving parts. We hit high pitches when the situation says you need to use them, like over bunkers.
At setup, Liz has the ball back and her hands forward of the middle of her feet. This is for a back pin with lots of run room. The ball back and hands forward de-loft the clubface and encourage the ball to run with a simple pendulum (5:00-7:00) chip with minimal wrist break.
We always like the feet open as it makes for a slightly higher descent into the “clipping of the stem” below the ball. Feet too far to the right will invite a shallow descent and often result in skulls and topped chips.
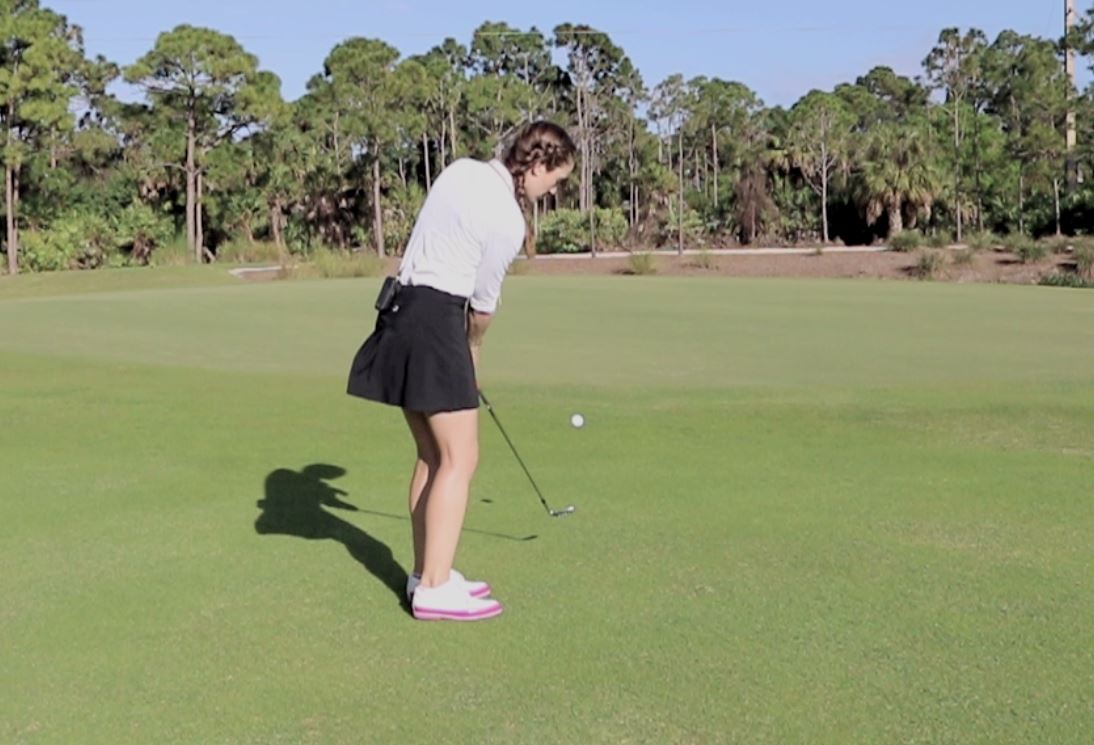
The Ratio Chip with the pitching wedge is similar in set up but requires a ball that lands ON the green as opposed to the bump and run that lands a couple of yards in front of the green. They both have the ball back and hands forward to de-loft the clubface for a lower flight and more roll.
If you land the ball on the green one-third of the way with a pitching wedge on a flat green, the ball will roll the other two-thirds of the way to the pin. Keep in mind that you will need to adjust for uphill and downhill slopes by landing the ball further than 1/3 or short of 1/3.
Bunker Shots
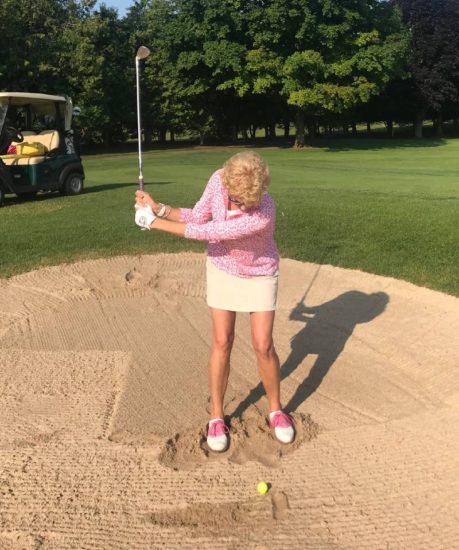
Here is Liz, practicing her sand shots. Liz is showing the classic “Letter L” backswing. I like how she stayed centered and didn’t lean too much to the right! She’s ready to shift forward as she splashed the sand!
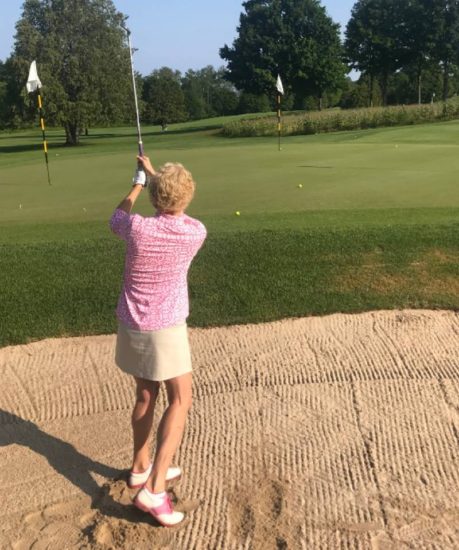
Here Liz finishes with the clubface high and a nice weight transfer as there is “air” under her rear foot! She has released her body nicely toward the target along with that nice weight transfer!
Putting
Liz is also working on putts that are one putter length, not “gimmees”.
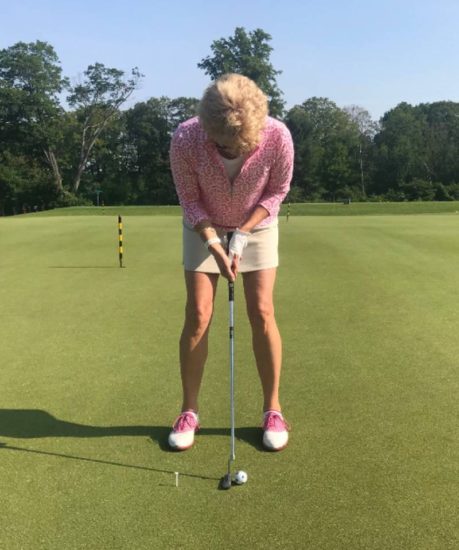
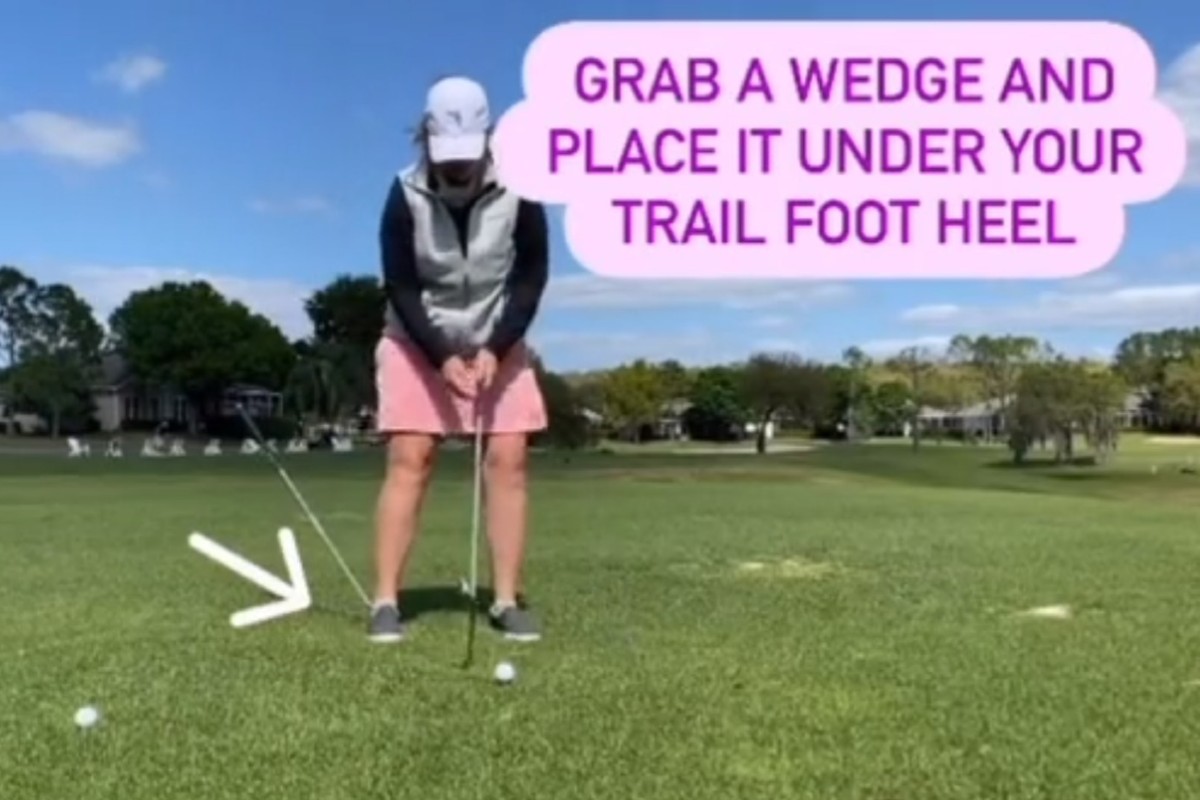
The guard tee stops her from taking the putter back too far so that she feels smooth acceleration “down the driveway and into the garage with her headlights”. Headlights on the face of the putter!
Ball position is just left of the center of her feet. We like to make contact ever so slightly on the upward arc so the ball has overspin and grabs the line immediately! 10 in a row every time you practice is the goal if you want your scores to drop!
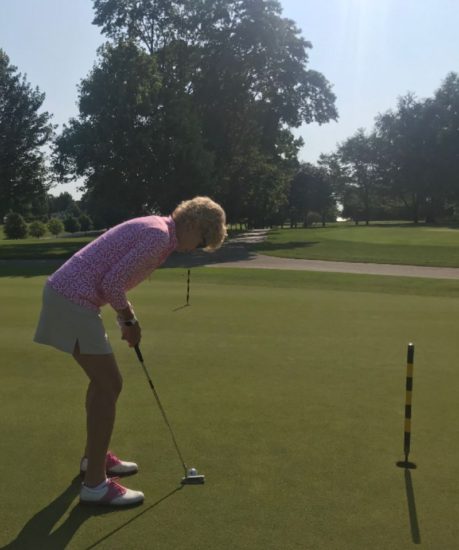
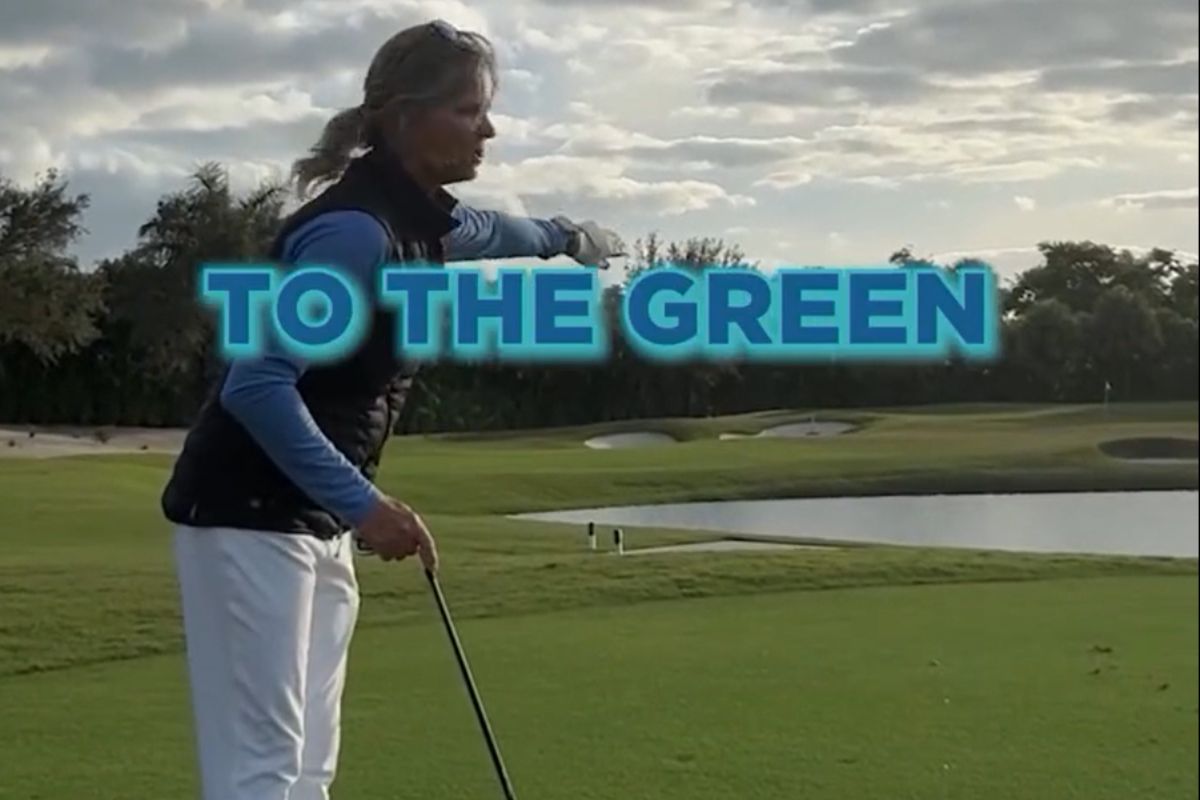
Liz is getting her eyes over the ball when she putts. Sometimes she actually has her eyes too far over the ball. This is a left to right breaking putt, so we like how her feet and putter face “headlights” are pointing left to the “high ground” where she feels the putt will break. We always use an intermediate target, which is a small spot on the green about a foot in front of her ball to get lined up and the putt started on the right line!
We call this the “Triangle Drill”. We find three flagsticks on the putting green that form a triangle. We go around clockwise until we get 3 two-putts in a row and then we reverse the direction and try to get 3 more two-putts in a row for a total of 6 two putts in a row! This way, everything that was uphill and left to right on the way around one way is downhill and right to left when you reverse the direction! It makes for a great challenge and will definitely make you a better putter. We use this drill for my state championship teams every day!
I hope these drills and techniques that Liz and I have been working on in our lessons have been useful and inspired you to try some out next time you are practicing.
Go here to see part one of my case study of my lesson with Liz Krimendahl
Pete

